Monitoring a Small Brewery: 15 Sensors, 3 Pis, One Dashboard
By LoopString Team
A friend runs a small craft brewery producing 500 liters per week. His monitoring setup was a whiteboard, a meat thermometer, and the hope that nothing went wrong overnight. One stuck fermentation and a ruined batch of IPA later, he asked me to help automate his monitoring.
Here is how we built a 15-sensor, 3-Pi monitoring system on a single LoopString dashboard.
The Brewery Layout
The brewery has three distinct areas, each with different monitoring needs:
Brew House — Where the mashing, boiling, and cooling happens. Needs temperature monitoring at multiple points and timing alerts.
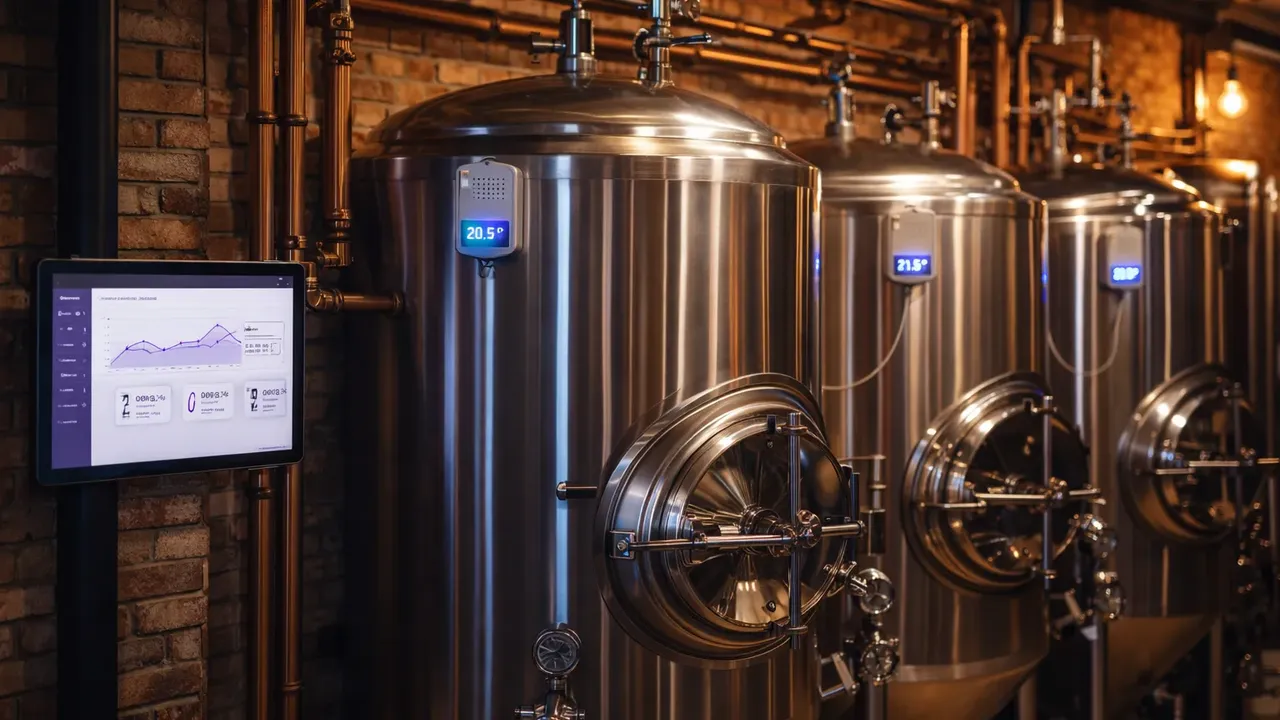
Fermentation Room — Four conical fermenters that need precise temperature control over days or weeks. The most critical monitoring zone.
Cold Storage — Walk-in cooler for conditioning and serving. Temperature must stay between 2-4C.
Hardware Setup
Pi 1: Fermentation Room (Primary)
- 4x DS18B20 thermowell probes — One per fermenter, inserted through the thermowell port
- 1x BME280 — Ambient room temperature and humidity
- 4x GPIO relays — Controlling glycol solenoid valves for each fermenter jacket
- Role: Primary device, runs PID temperature control for all four fermenters
Sensor slots used: 9 (4 fermenter temps + 3 BME280 signals + 2 actuator states... wait, we planned 5 sensors and 4 actuators from this Pi)
Actually, let me break this down properly:
- 4 DS18B20 probes (4 sensor slots)
- 1 BME280 = 3 signals (temperature, humidity, pressure)
- 4 relay states (4 actuator slots)
- Total: 7 sensor slots + 4 actuator commands
Pi 2: Brew House
- 2x DS18B20 probes — Hot liquor tank and mash tun
- 1x flow meter — Water usage tracking
- 1x BME280 — Ambient conditions
Total: 6 sensor slots
Pi 3: Cold Storage
- 2x DS18B20 probes — Top and bottom of the walk-in cooler (temperature stratification)
- 1x door sensor — GPIO reed switch to detect if the cooler door is left open
Total: 3 sensor slots
Grand total across all three Pis: 16 sensor signals.
This fits comfortably on LoopString's Pro tier (15 devices, 200 sensor slots), though we are only using 3 devices.
Dashboard Organization
We organized the dashboard into four rooms:
Room 1: Fermentation
The most-watched room. Four SensorStat cards show fermenter temperatures with sparkline trends. Each fermenter has:
- Current temperature with 0.1C resolution
- Sparkline showing the last 24 hours
- Alarm thresholds: Warning at +/- 1C from setpoint, Critical at +/- 2C
- PID indicator showing controller status and output percentage
- SetpointInput for adjusting the target temperature per batch
Different beers need different temperatures:
- Lagers: 10-12C for 2-3 weeks
- Ales: 18-20C for 1-2 weeks
- Belgian styles: 22-25C with a temperature ramp schedule
The SetpointInput makes it easy to adjust each fermenter independently from a phone.
Room 2: Brew House
Brew day monitoring:
- Hot liquor tank temperature (target: 77C for sparging)
- Mash tun temperature (target varies by recipe, typically 64-68C)
- Water flow meter reading
- Ambient temperature and humidity
Room 3: Cold Storage
- Top cooler temperature (should be 2-4C)
- Bottom cooler temperature (should be within 1C of top)
- Door sensor state (open/closed)
- Alarm: Critical alert if temperature exceeds 6C or door open for more than 5 minutes
Room 4: Environment
Ambient conditions from all three locations overlaid on the same view:
- Fermentation room temperature and humidity
- Brew house temperature
- Cold storage temperatures
Multi-Device Mesh
The three Pis are configured as a device group called "Brewery" in LoopString:
- Pi 1 is the primary — It runs the fermentation PID loops, which are the most critical process
- Pi 2 and Pi 3 are secondary — They monitor and report, but do not run control loops
All three Pis share data through Firebase RTDB. The dashboard shows all devices on a single unified view, switching between them via room tabs.
Alert Configuration
We configured alerts at three levels:
Fermentation (Critical):
- Any fermenter more than 2C from setpoint triggers an email and SMS
- This caught a glycol pump failure at 11 PM — my friend saw the alert, drove to the brewery, and bypassed the pump before the batch was affected
Cold Storage (Warning + Critical):
- Warning at 5C (door may be open or compressor cycling)
- Critical at 7C (something is wrong)
- Door open more than 5 minutes triggers a warning
Brew House (Info only):
- Hot liquor tank reaching target temperature sends an in-app notification
- Useful during brew day as a hands-free timer
Shared Dashboard
We created a public share link for the fermentation room so the assistant brewer can check on fermentation progress from home without needing a LoopString account. The shared view is read-only — no risk of accidentally changing a setpoint.
Analytics and Batch Tracking
The Analytics view is where the real value shows up after a few months:
- Fermentation curves — Overlay temperature profiles from different batches to compare performance
- Seasonal trends — The fermentation room ambient temperature climbs in summer, requiring more glycol cooling
- Duty cycle tracking — Glycol valve duty cycles show which fermenters need the most cooling (useful for scheduling)
- Anomaly detection — LoopString flagged an unusual temperature spike in Fermenter 3 that turned out to be a failing DS18B20 probe
Costs
Hardware:
- 3x Raspberry Pi 4: $135
- 8x DS18B20 probes: $24
- 2x BME280: $10
- 1x flow meter: $15
- 4x relay modules: $16
- 1x reed switch: $2
- Wiring, enclosures, power: $40
- Total hardware: ~$242
Software:
- LoopString Pro tier: $29/month (15 devices, 200 slots — way more than needed, but gives room to grow)
- Could run on Maker tier ($15/month, 5 devices) with headroom
Compared to commercial brewery monitoring systems that start at $2,000-5,000 for comparable sensor coverage, the ROI was immediate.
Lessons Learned
Label your DS18B20 probes. Each probe has a unique serial number, but they all look identical. Label them during installation or you will spend an hour figuring out which probe is in which fermenter.
Use thermowell ports, not taped probes. A DS18B20 taped to the outside of a fermenter reads 2-3C different from the actual wort temperature. Thermowells give accurate readings.
Set up alerts before you need them. The glycol pump failure would have ruined a 500-liter batch of IPA without the temperature alert. Alerts pay for themselves on the first prevented incident.
Shared dashboards save time. Instead of texting fermentation temperatures back and forth, the assistant brewer checks the shared link.
Get Started
Create a free LoopString account and start with one Pi monitoring one fermenter. Scale to multiple devices when you are ready. The Fermentation Monitor template in the Configurator pre-configures the sensors and PID loops for a single fermenter — deploy in 5 minutes and expand from there.
Learn More
- Temperature Sensors — PT100, DS18B20, and more
- Brewing & Industrial Actuators — heaters, chillers, pumps
- Multi-Device Setups — connecting multiple Raspberry Pis
- PID Temperature Control Guide — precise fermentation control