
Greenhouse Automation: A DIY Guide with Raspberry Pi and Node-RED (2026)
By LoopString
Greenhouse automation gets described as "monitoring" a lot, but monitoring is the easy half. The hard half is holding temperature, humidity, light, and airflow in range while the sun, the weather, and your own venting push them around all day. This guide covers what a complete system actually controls, and how a do-it-yourself Raspberry Pi build compares to a commercial greenhouse controller.
The four loops of greenhouse automation
Every greenhouse control system, DIY or commercial, is really four control loops running at once:
- Temperature — heaters when it is cold, roof vents and exhaust fans when it is hot. This is the loop that swings hardest, because a sunny afternoon can add 20-30°F in an hour.
- Humidity and VPD — misters or foggers to raise it, venting and dehumidification to lower it. The target that matters is not raw humidity but vapor pressure deficit, which combines temperature and humidity into the number the plant actually feels.
- Light — supplemental lighting to hit a daily light integral target on dark days, and shade screens to pull it back on bright ones. Use a PPFD/DLI calculator to size the supplement.
- Air movement and CO2 — circulation fans to prevent stagnant, disease-friendly pockets, and CO2 enrichment where the crop and economics justify it.
Automation means each loop has a sensor, a target, and an actuator driven to close the gap — not a person walking the rows with a clipboard.
DIY Raspberry Pi vs a commercial controller
Commercial greenhouse controllers are turnkey: buy the box, wire their sensors, done. They are also expensive, proprietary, and every added measurement means buying more from the same vendor.
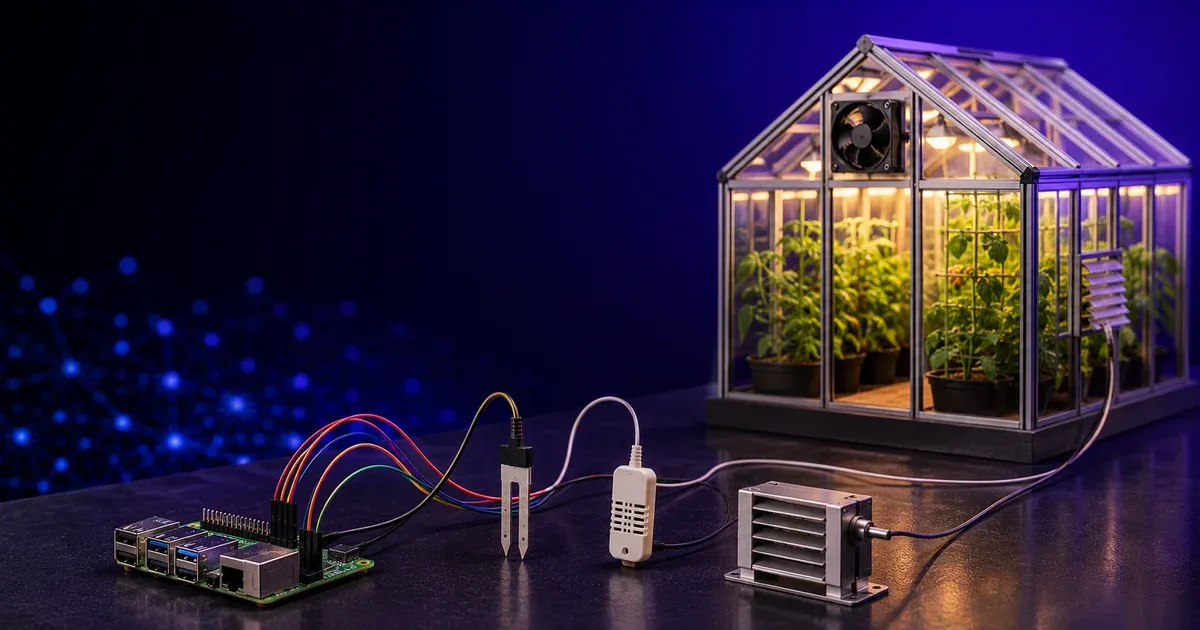
A Raspberry Pi running Node-RED does the same control on commodity hardware. A single Pi can read an SHT31 for temperature and humidity, a light sensor for PPFD, and an MH-Z19 for CO2, then drive relays for heaters, fans, vents, and misters — with PID or hysteresis logic holding each setpoint. The parts cost a fraction of a commercial controller, and nothing is locked to one vendor.
The honest trade-off: you wire it and configure it yourself. That is where a platform helps. LoopString keeps the DIY hardware freedom — your Pi, commodity sensors — but replaces raw Node-RED editing with a browser-based visual Configurator, a cloud dashboard, threshold alerts, and HACCP/FDA/USDA-style records if you need them. See how it stacks up against a dedicated grow controller in LoopString vs TrolMaster.
Control to VPD, watch the dew point
Two numbers separate a greenhouse that holds and one that drifts:
- VPD is the target. The same RH is a different plant stress at every temperature, so controlling to a fixed humidity number lets stress swing all day. Read the whole temperature-humidity landscape on a VPD chart, then let the controller hold the band.
- Dew point is the alarm. When any surface — glazing, a cold wall, the crop at night — reaches the dew point, condensation forms and disease follows. Watching the dew-point spread catches it before the water appears.
Where automation earns its keep
The payoff is not the dashboard; it is the 2 a.m. heater failure you get alerted to, the humid night the dehumidifier handled without you, and the consistent VPD that made this crop repeat the last one. A greenhouse is a system that never holds still — automation is what keeps it in range when you are not standing in it.
Ready to build it? Start with the greenhouse use case, size your environment with the VPD and DLI calculators, and stand up control on a Pi you already own.
Frequently asked questions
A complete system controls four things: temperature (heaters, vents, exhaust fans), humidity and VPD (misters, dehumidification, venting), light (supplemental lighting and, in some builds, shade screens), and air movement plus CO2 (circulation fans, CO2 enrichment). Automation means each of these is driven by a sensor and a target, not adjusted by hand — so conditions hold steady while you are not there.