
Node-RED + MQTT + Raspberry Pi: Build a Greenhouse Temperature Controller (2026)
By LoopString
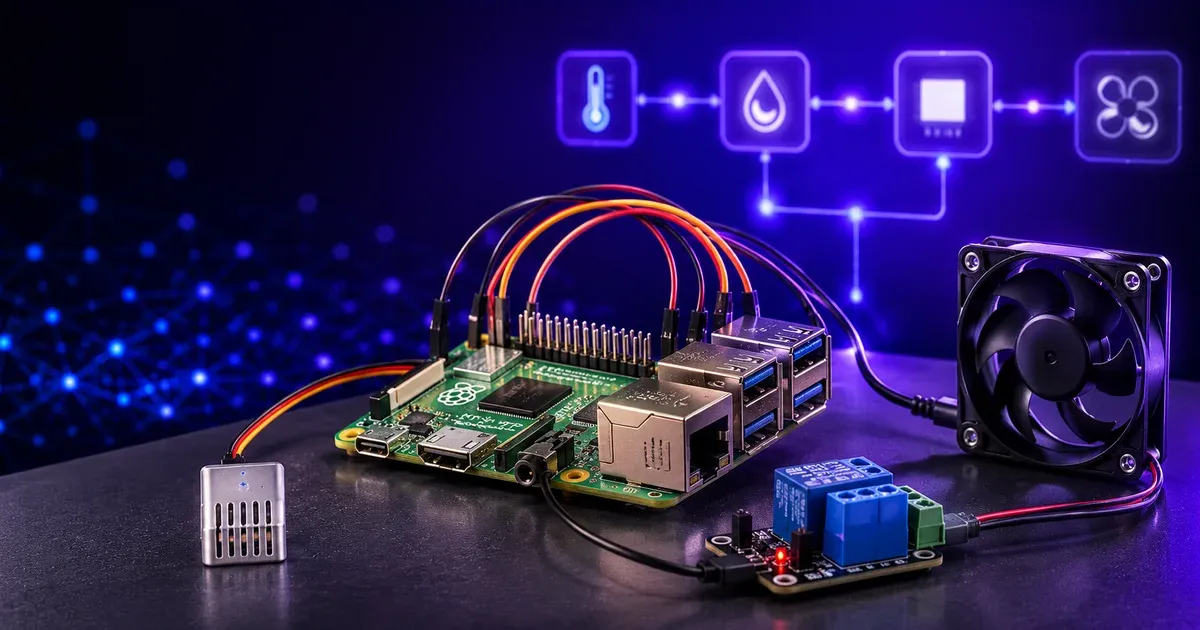
This is the full build for a Raspberry Pi greenhouse controller: a temperature/humidity sensor publishes readings over MQTT, Node-RED runs the control logic and drives a fan (first by threshold, then with proper PID), and a Node-RED dashboard shows live gauges and history. It is the DIY pattern thousands of growers run — and at the end, the honest trade-off of building it yourself versus shipping it pre-integrated.
What you are building
[Sensor] --MQTT--> [Mosquitto broker on Pi] --> [Node-RED] --> [Fan relay]
                                                     |
                                                     +--> [Dashboard]
The architecture is deliberately decoupled: the sensor only publishes data, the broker routes messages, and Node-RED owns the logic. Swapping a sensor or adding a humidifier later means adding a topic, not rewiring everything.
Hardware
- Raspberry Pi (3, 4, or Zero 2 W) running Raspberry Pi OS — the controller and broker host.
- Temp/humidity sensor. Two common routes: a Sonoff TH flashed with Tasmota (publishes to MQTT over Wi-Fi out of the box), or an SI7021 / BME280 / DHT22 wired to the Pi’s I²C or GPIO and read by a small script that publishes to MQTT.
- A relay or smart plug to switch the fan (a Sonoff relay on Tasmota subscribes to an MQTT topic; a Pi-attached relay HAT works too).
- The fan/heater/humidifier you are controlling.
Step 1 — Install the Mosquitto MQTT broker
MQTT is a lightweight publish/subscribe protocol: devices publish to named topics, and anything subscribed to that topic receives the message. Mosquitto is the standard broker and runs happily on the Pi:
sudo apt update
sudo apt install -y mosquitto mosquitto-clients
sudo systemctl enable --now mosquitto
Set a username/password (do not run it open) and verify with mosquitto_sub -t 'test' -v in one terminal and mosquitto_pub -t 'test' -m hello in another.
Step 2 — Get sensor readings onto MQTT
Decide a topic scheme up front — it keeps the flow readable as you grow:
greenhouse/sensor/temp        <- sensor publishes °C here
greenhouse/sensor/humidity    <- sensor publishes %RH here
greenhouse/actuator/fan       <- Node-RED publishes ON/OFF here
A Tasmota Sonoff TH publishes its telemetry automatically; a Pi-read SI7021/BME280 uses a short Python script (with paho-mqtt) on a timer to publish the reading to greenhouse/sensor/temp. Either way, confirm data is flowing with mosquitto_sub -t 'greenhouse/#' -v.
Step 3 — Install Node-RED and wire the flow
Install Node-RED (the official bash <(curl -sL https://raw.githubusercontent.com/node-red/linux-installers/master/deb/update-nodejs-and-nodered) script), then build the flow:
- MQTT in node, subscribed to
greenhouse/sensor/temp, pointed at your local broker. - Function node for threshold logic with hysteresis (a deadband so the fan does not chatter on and off around a single setpoint):
// Fan ON above 27C, OFF below 25C; do nothing inside the deadband
const temp = Number(msg.payload);
if (temp > 27) { msg.payload = "ON";  return msg; }
if (temp < 25) { msg.payload = "OFF"; return msg; }
return null;- MQTT out node publishing the result to
greenhouse/actuator/fan, which your relay subscribes to.
That is a working bang-bang controller. It is fine for a fan, but it overshoots and cycles — which is where PID comes in.
Step 4 — Upgrade to PID control
For smooth control (a variable-speed fan, a heater, a humidifier) install from the palette manager. It takes the measured value and a setpoint and outputs a 0–1 control signal you scale to your actuator. PID holds the target far more tightly than a threshold and stops the equipment short-cycling. Tuning it (the P, I, and D gains) is a real skill, but the node and the community guidance for it are solid — this is well-trodden ground, not a gap.
Step 5 — Add a dashboard
Install for browser gauges and charts: wire the MQTT-in temperature into a gauge and a chart node, add a switch node to override the fan, and you have a live control panel on http://<pi>:1880/ui. For remote access, put it behind a VPN (Tailscale) rather than exposing port 1880 to the internet.
What you will still have to solve
The build above works — and then the operational reality starts:
- Remote access and security — exposing Node-RED safely, certificates, auth.
- Reliability — what happens when the Pi reboots mid-flow, the broker drops, or the SD card wears out.
- History and alerts — logging readings somewhere durable, and getting a text when the temperature spikes at 3am.
- Multiple zones and devices — the flow that is elegant for one room becomes a tangle across five.
- Recipes and schedules — changing setpoints by growth stage, not by hand.
None of it is impossible; all of it is weeks of yak-shaving and ongoing maintenance.
Or skip the wiring and flow-building
LoopString ships exactly this stack pre-integrated: the Pi runs Node-RED and Mosquitto out of the box, sensors and actuators are discovered and mapped, and the threshold/PID/schedule logic is configured from a web dashboard instead of hand-wired — with secure remote access over Tailscale, durable history, threshold alerts, and recipes built in. You design the control system visually; it deploys to the edge. If you want to understand the stack, build the walkthrough above. If you want to run a grow, start here.
Either way, the architecture is the same — sensor → MQTT → logic → actuator → dashboard. The only question is how much of the plumbing you want to own.
Frequently asked questions
Mosquitto is the standard broker and runs happily on a Pi. Install it with `sudo apt install -y mosquitto mosquitto-clients` and enable it with systemctl. Set a username and password rather than running it open, and verify it works with `mosquitto_sub` and `mosquitto_pub` on a test topic.