
Grow Room Exhaust Fan CFM Calculator & Ventilation Guide (2026)
By LoopString
Size a grow-room exhaust fan by multiplying your space volume (length × width × height, in feet) by how many times per minute you want to exchange the air — once a minute is the baseline — then adding ~25% for a carbon filter, ~10% per grow light for heat, and an allowance for ducting. A 4×4×6.5 ft tent (~104 ft³) with a filter and a couple of lights lands around 140–160 CFM. Use the free CFM calculator to size yours, then read on for the why.
The grow-room CFM formula
Recommended CFM = volume(ft³) × exchanges-per-minute × filter × lights × ducting- Volume = length × width × height in feet.
- Exchanges per minute = how often you replace all the air. 1×/min is the baseline; heat-heavy flowering rooms run 2–3×.
- Carbon filter × 1.25 — the filter media adds static pressure that cuts effective airflow.
- Lights + ~10% each — fixtures add heat the fan has to remove.
- Ducting — roughly 5% per 10 ft of flex duct and 5% per sharp 90° elbow.
This rule of thumb is corroborated across AC Infinity, HTG Supply, Hydrobuilder, and Just4Growers ventilation guides.
Air exchanges by stage
[Table content]
The baseline assumption — swap all the air once a minute — is the floor, not the ceiling. The hotter and more crowded the room, the faster you need to move air to hold temperature and humidity.
Worked example: a 4×4 tent
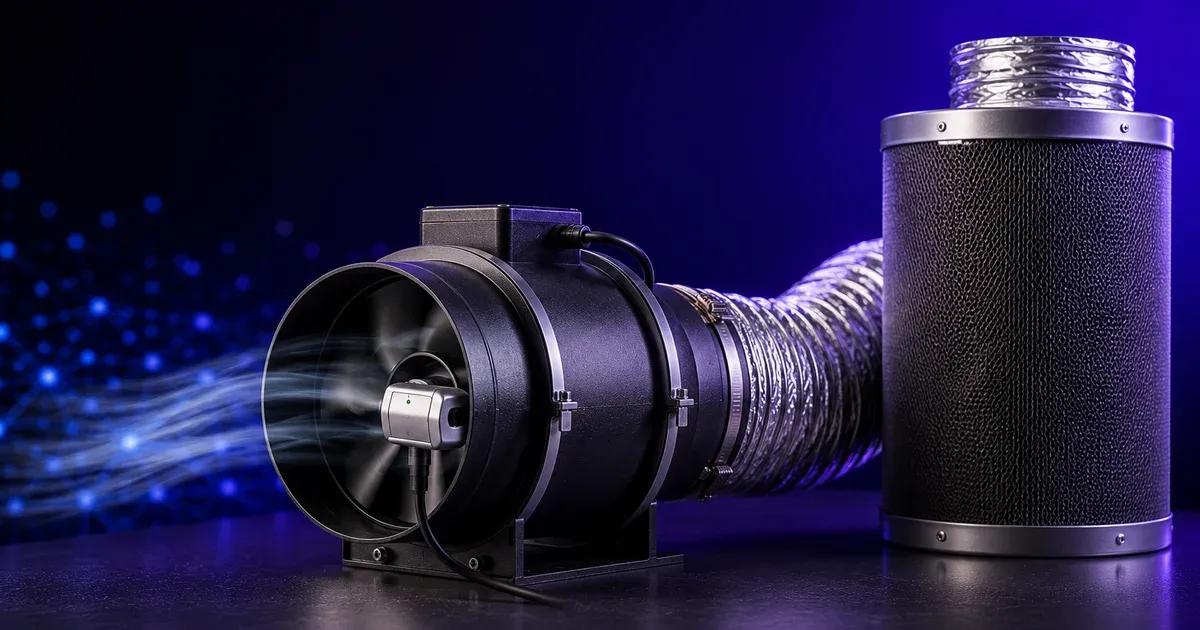
A 4 × 4 × 6.5 ft tent is 104 ft³, so the baseline is ~104 CFM. Add a carbon filter (× 1.25 = 130), one LED light (+10% = 143), and 10% for ducting (≈ 158 CFM). That is why a 6-inch inline fan — typically rated 350–400 CFM and run on a speed controller — is the common pick: it covers the requirement with headroom to ramp up when the room heats.
Intake: passive vs active
For most tents, passive intake — a vent opening sized larger than the exhaust — is enough, because the exhaust fan creates slight negative pressure that pulls fresh air in on its own. Negative pressure also matters for odor control: it forces all the air out through the single filtered exhaust instead of leaking unfiltered through gaps. Larger rooms benefit from an active intake fan sized ~15% below the exhaust, keeping the room under slight negative pressure.
Why a fixed fan speed is the wrong answer
The airflow you need is not constant. Heat and humidity load climb during lights-on and fall at lights-off, so a fan sized for the worst-case peak is overpowered most of the day. Running it flat-out around the clock wastes power, makes noise, and wears the bearings faster. The better approach is a controller that ramps fan speed to hold a temperature or humidity setpoint, moving only the air you actually need.
That is what LoopString grow-room automation does: it drives the exhaust fan to a temperature or humidity target on a Raspberry Pi at the edge, and tracks the fan’s duty cycle so you can see runtime trends and catch a failing fan before it costs you a crop. Pair it with the right hardware from the fans & blowers buyer’s guide.
Quick steps
- Measure the room: length × width × height in feet.
- Pick an exchange rate: 1×/min baseline, 2–3× for hot or high-light rooms.
- Add for your carbon filter, lights, and ducting.
- Buy a fan rated above the result — then control its speed instead of running it wide open.
Frequently asked questions
Multiply your space volume (length × width × height in feet) by how many times per minute you want to exchange the air — once a minute is the baseline — then add ~25% for a carbon filter, ~10% per grow light for heat, and an allowance for ducting (roughly 5% per 10 ft of flex duct and 5% per sharp 90° elbow). A 4×4×6.5 ft tent (~104 ft³) with a filter and a couple of lights lands around 140–160 CFM.